

Why enter Revenue?
There are a range of methods for automatically recording Revenue into the platform through the suite of Integrations we offer with Point of Sale (POS) systems. If you need help setting up a new integration with your POS provider, Contact Us for assistance.
This article however will cover how to manually enter your Revenue to help you get the whole picture!
How to record Revenue
Before entering Revenue, be sure that you have set up all desired Business Departments for your Outlet. If you need help, check out our Creating Business Departments article for assistance.
Begin by navigating to the Financial heading and selecting Revenue:
 Proceed by clicking the Add button, then select the desired Business Department you wish to record Revenue under:

After choosing your desired Business Department, click Select to continue to the Revenue Detail window. Use the Date Options drop-down to specify whether you wish to enter Revenue for a Single Date or for Multiple Dates:
 Select your desired date or date range and proceed to enter your values for each active Revenue Stream. Note that entering a value in one field will automatically calculate the others:
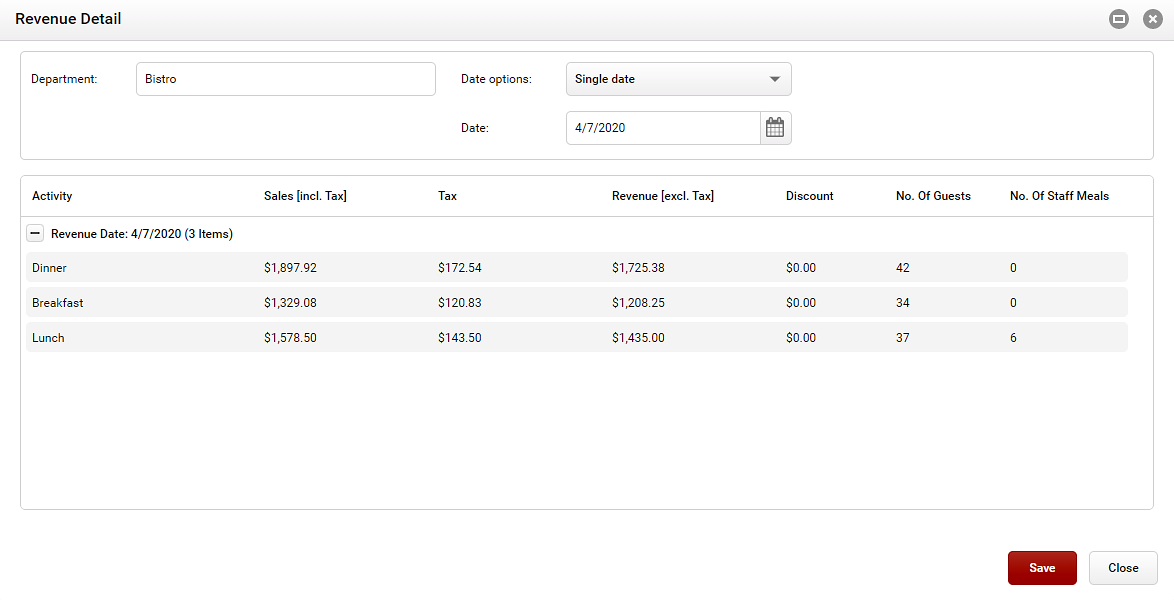
Click image to enlargeEntering Discounts, the Number of Guests, and total Staff Meals is entirely optional, but feel free to input them for your records. Once done, be sure to click Save to apply your changes!